I Tried To Create A Ghost Using A "Ghost Science" Kit From Amazon
This article is more than three years old and was last updated in April 2022.
Weird Science's 'Ghost Science' experiment kit is a horror-themed activity set for kids. Its makers, Graffix, aim to help children learn a little bit about science while exploring the mysterious world of the supernatural with 10 "insane experiments."
The product is aimed at kids ages eight and older. I love science and am fascinated by the paranormal, so even as an adult this ghostly science kit caught my eye. I bought one from Amazon for £7.99.
The product's box promises that you will "learn about static electricity and its ghostly charge," "watch bones bend right before your eyes," and "create and launch a ghost using a chemical reaction."
The Amazon page told me that "this set comes with all the lab equipment needed to be a scientist." However upon opening the box I found that this was a little bit of a stretch.
What is actually in the box is an empty plastic water bottle, two plastic pots - the type used as film canisters, a plastic jar, three balloons, five sheets of tissue paper, a black marker pen, a tiny pot of glow paint, some slime powder, a pack of bicarbonate soda, and safety goggles. There was also a paint brush, but that's not mentioned anywhere in the instructions so it's unclear why that's included.
What Amazon doesn't tell you is that it's not really what's in the box that you need to know about, but what isn't. Small print on the packaging reads: "additional components required to carry out experiments."
That statement couldn't be more true. In addition to the limited number of mostly plastic items provided, you need... clear glue, liquid starch, wiggle eyes, sticky tape, a lemon, white paper, cotton swabs, a hex nut, marshmallows, a microwave-safe plastic bottle, an empty two litre cola bottle, a rubber glove, and chicken bones.
As I didn't realise how many extra items I needed until the set was delivered, I was already invested. I went to a supermarket to buy the bits I needed. Unfortunately I couldn't get everything I needed, so I had to improvise a bit, but what I did get cost me £12.79.
Now, with a fully stocked ghost lab. I started working my way through the ten experiments to learn about the world of weird science and make some wonderful discoveries.
1. Clear Ghost Slime
It's not exactly clear what I was supposed to be making here as there was no photos or diagrams, but since I need ingredients to make homemade slime and some wiggle eyes my guess would be a little wobbling slime lump of a ghost with two eyes.
Amazingly every single ingredient and item needed to this first "experiment" is not included in the box. The instruction state that I need two bowls, but it's not clear why.
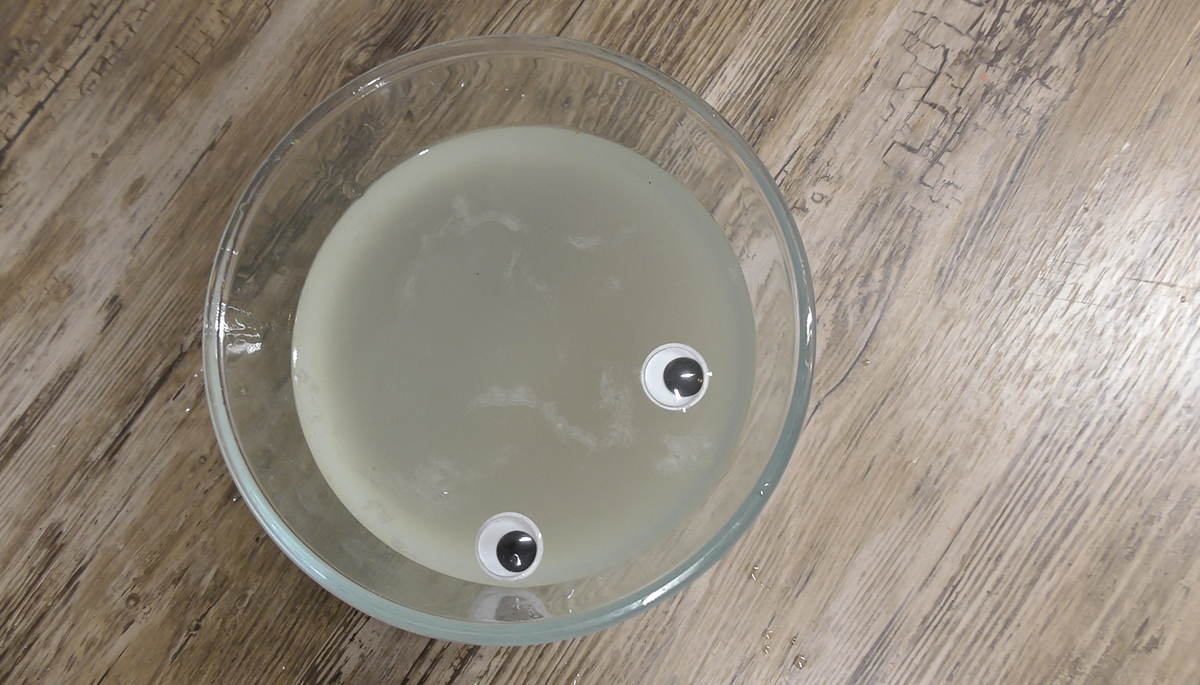
I followed the four steps, which were pretty easy to understand. It basically involved mixing118ml of water, clear glue and starch. The instructions say that when the starch is added in "you will see the slime start to form right away." I ended up with a semi-viscous slime which I mixed with my hands as it said to.
The next step reads, "once the slime feels fully incorporated, add in your wiggle eyes as your ghost eyes!" I have no idea what "fully incorporated" means in the context of slime, but I assumed I'd got to that stage so dropped in two eyes which simply floated on top of the slime.
A very disappointing start. On two experiment two...
2. Glowing Ectoplasm
Two of the three ingredients for this experiment were included in the box, the other is warm water. Although the instructions didn't specify a quantity, so I filled a small bowl about half full of water and then stirred in the other two ingredients, slime powder and glow paint.
Next it said to "stir the mixture until it becomes thick and viscous." It never did. I was left with a bowl full of warm green water. I guessed I'd probably added too much water due to the lack of instructions, so I poured that whole mixture into an old saucepan and reduced it over a low heat on the stove.
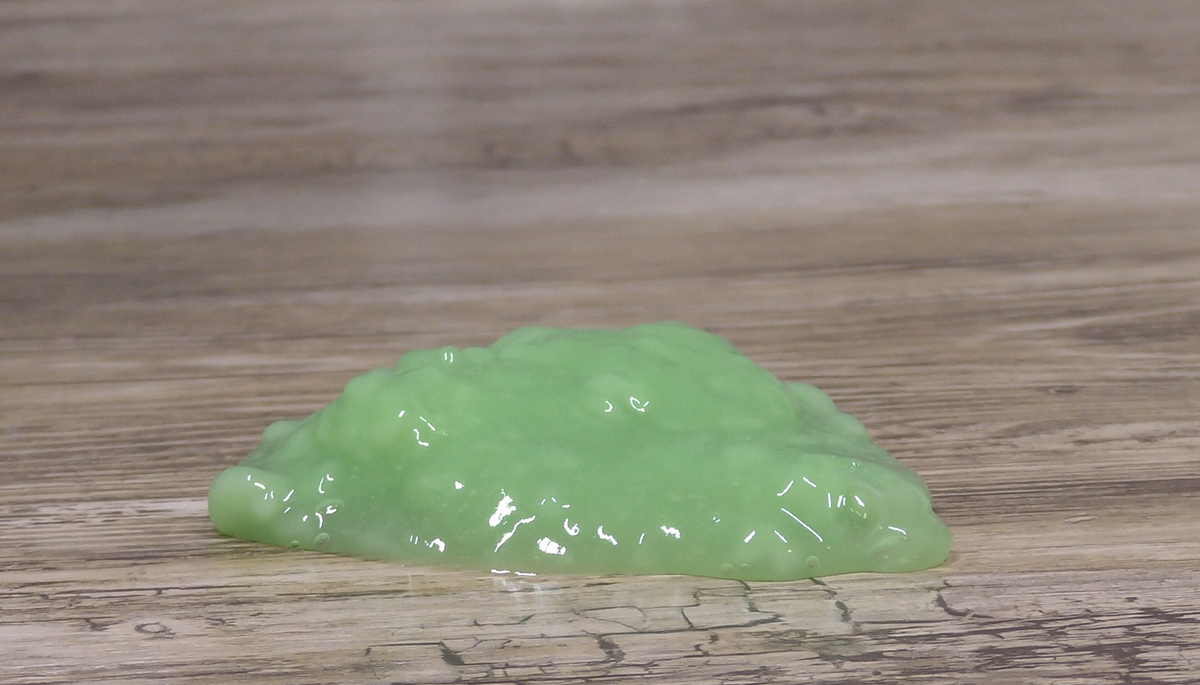
I was left with a pretty convincing lump of green slime. This begs the question, why was I making slime from ingredients I needed to purchase additionally in the first experiment, when experiment two comes with a pouch of slime powder?
But this wasn't just slime we were making, it was glow-in-the-dark slime. I turned off the lights and looked towards my slime. It wasn't glowing. Perhaps the intense heating on the stove damaged its glowing ability?
All wasn't lost, the instruction pamphlet had a bit of useful information about what ectoplasm actually is...
What's Ectoplasm?
Ectoplasm, also known as ghost slime, is a substance that paranormal creatures leave behind when passing through solid objects, such as walls or furniture. It is also used as a gateway for ghosts to enter our realm from their own. Ectoplasm appears as a gooey green, snot like slime and can get very messy.
Advertisement ‐ Content Continues Below.
3. Ghost Rocket
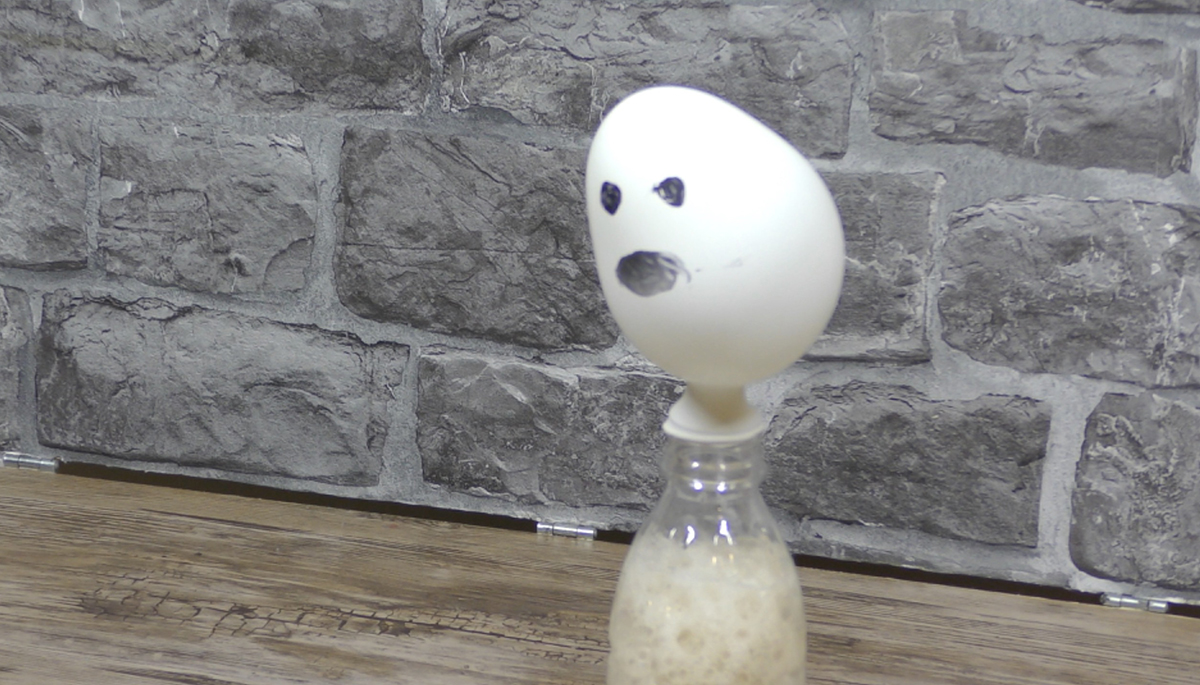
The instructions warned that this experiment must be conducted outdoors. This is because I was going to be creating and launching a ghost using a chemical reaction. Just how high will this spook go?
The items for this experiment included a supplied marker pen, which is odd considering so many essential ingredients are not included in the set, yet something as common as a pen was. The pen was to be used to draw a ghostly face on the side of a small plastic canister.
I was then directed to add some vinegar to the canister and two capfuls of "chemical one," which was bicarbonate soda. You are then supposed to slam the lid on, flip the canister upside down, give it a shake, place it on the floor and retreat to a safe distance of two meters and then watch your ghost go up.
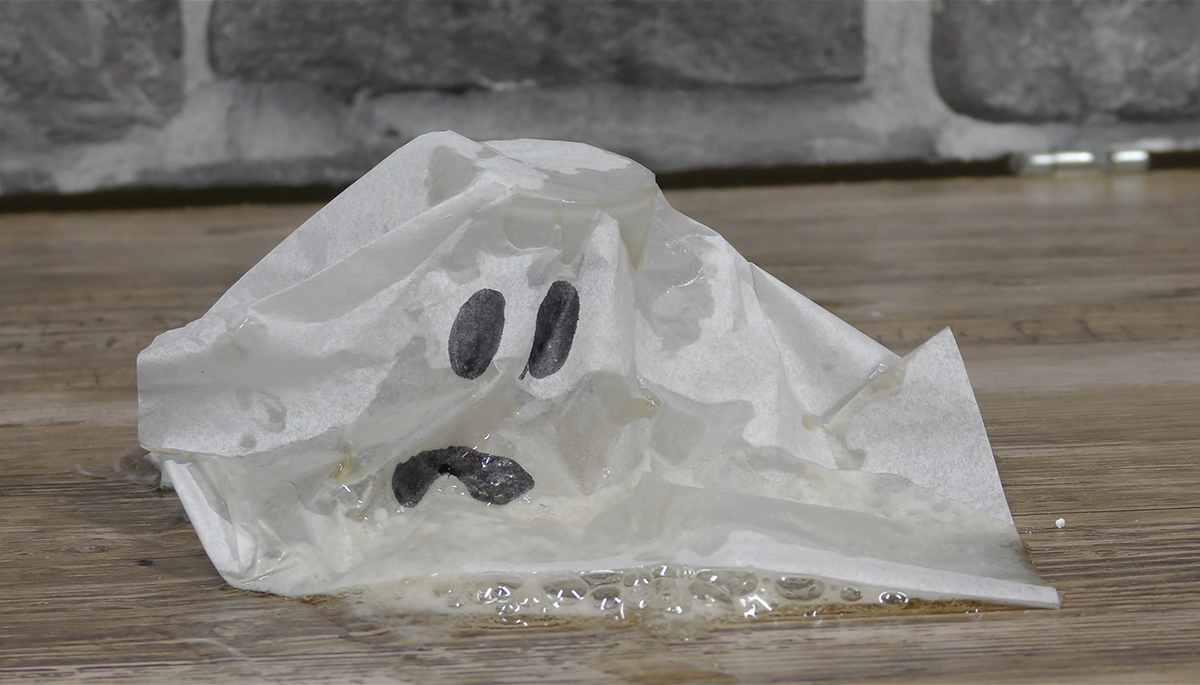
However, as soon as I drop the powder into the pot, the contents fizzed. I was able to get the lid on but it had burst open with a gentle pop before I could even place it down, let alone get two meters away.
As the kit came with two of these canisters, I thought I'd have another go. Plus the instructions said "for a more ghostly version, make a face on a piece of tissue paper and place over the canister and tape to secure." I tried this method and this time held the lid on more tightly as I flipped it over. But this time all that happened was a gentle pop that came out from the back of the tissue.
Then the instructions gave me the science bit, "the bicarbonate soda is reacting chemically to the added vinegar because one is a base and one is an acid. This actually is occurring in two separate reactions."
4. Static Electricity Ghost

In this experiment kids can learn about "static electricity and its ghostly charge" using nothing more than a balloon and a piece of tissue paper, both of which are included in the kit.
First the instructions say to cut a ghostly shape out of your tissue paper and then using the supplied marker pen, "draw a silly, scary, or friendly ghost face on your tissue paper cut out." Then you have to tape the bottom of your ghost to a table so that the top can still move freely.
Next blow up one of the supplied balloons and tie it closed. I tried this step but found that the balloon already had a leak, so I threw that one out and tried another. Once inflated the instructions say to rub the balloon on a sweater or your hair to build up a static charge.
Then the spooky bit... "move the charged balloon over your ghost. Watch as the ghost rises up and dances around as you move the balloon back and forth." The ghost did rise up slightly due to the attraction from the balloon, but it was far from dancing around.
Once again, the set's creators had included a bit of science about the experiment...
What's happening?
When you rub the balloon on your sweater/hair the balloon collects extra electrons, which are negatively charged atoms. When you move your negatively charged balloon over the tissue paper ghost the ghost will rise. This is because the ghost has a positive charge to it, meaning there are more positively charged atoms, protons, than the balloon The different charges create an attraction which causes the ghost to rise. Goes to show, opposites really do attract!
5. Invisible Ink
This experiment could be handy if you ever encounter the ghost of a spy. Once again none of the items required for this experiment were included in the kit.
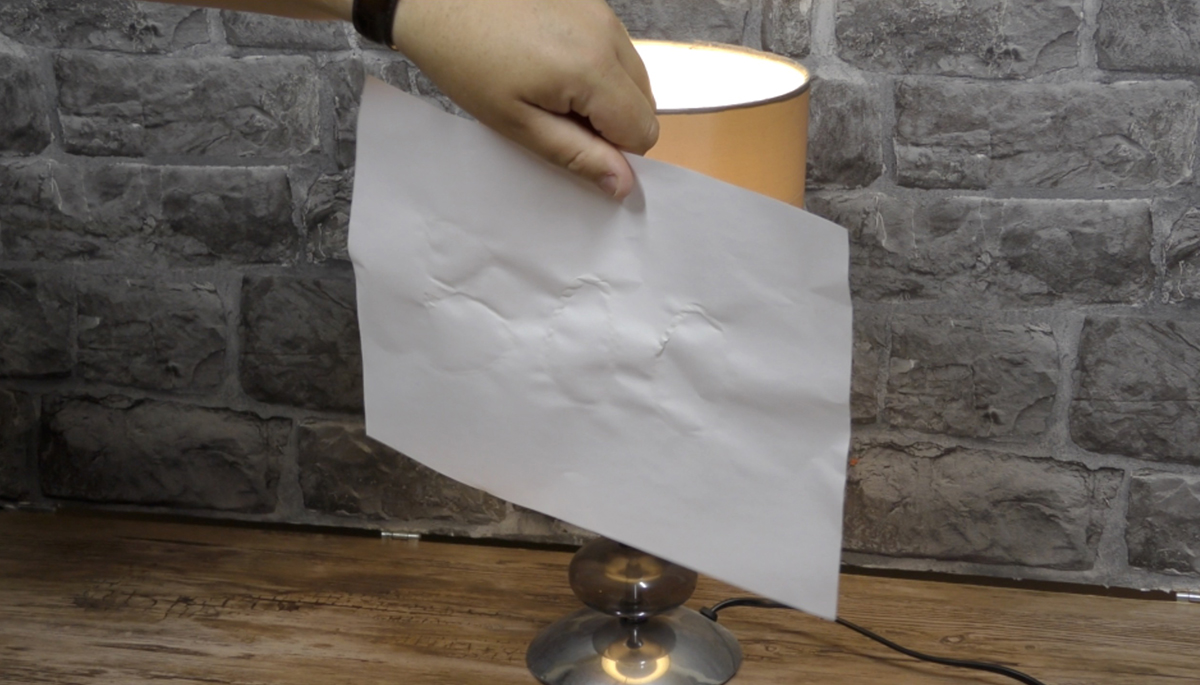
The experiment involved squeezing the juice of a lemon into a bowl with a drop of water and then using a cotton swab to write a secret message on a piece of paper. Instead of a cotton swab, you could use the paint brush included in the set because it doesn't seem to have any other use and isn't mentioned in the instructions at all.
Once the paper has dried your message is invisible, well... near enough, other than the dried, crinkled but colourless shape of the letters that remains visible.
The instructions then say, "to reveal your message, hold your paper close to a lamp and it will slowly appear." I tried this, it doesn't work with an LED light bulb that gives off very little heat. What's supposed to happen is that the lemon juice reacts to the heat and changes colour, making your message visible.
Once again, here's the science bit...
What's happening?
When the lemon juice was applied to the paper, the carbon-based compounds were absorbed into the paper. When the lamp heated the paper it caused some of the chemical bonds to break down, freeing the carbon. When carbon comes into contact with air, it goes through a process called oxidation, which will turn the colour of the lemon juice to a darker shade - making it visible again.
6. Screaming Ghost

The next experiment requires one of the balloons that are included in the set, because one of the ones supplied was leaking I carefully unpicked the knot on the one I'd previously used so that I could re-use it for this experiment.
The first step was to draw a ghost face on the deflated balloon with the supplied black marker pen. Drawing ghost faces is becoming tedious by this point. Why can't the ghost face be pre-printed on the balloon? That would be at least a small improvement.
The next item needed is a hex nut. This slightly obscure item wasn't included in the kit and isn't something your average eight-year-old would have to hand. I couldn't buy one in the supermarket when I was buying the other items required and didn't fancy spending another few pounds in a DIY store, so I improvised and used a hazel nut.
I continued with the instructions and pushed the nut inside the deflated balloon, then blew the balloon up and tied it off. Next you have to spin the balloon around so that the hex nut whirls in a circle inside of the balloon until you start to hear a screaming sound.
The sound is the nut vibrating the walls of the balloon when you spin it. This does not work with a hazel nut however, my balloon just sounded like an old tractor.
What's happening?
Your balloon ghost will "scream" because the vibration of the hex nut against the balloon walls creates a loud sound that could be considered a scream. The air that is released from the balloon creates enough movement of the hex nut to cause this reaction.
7. Ghost Geyser
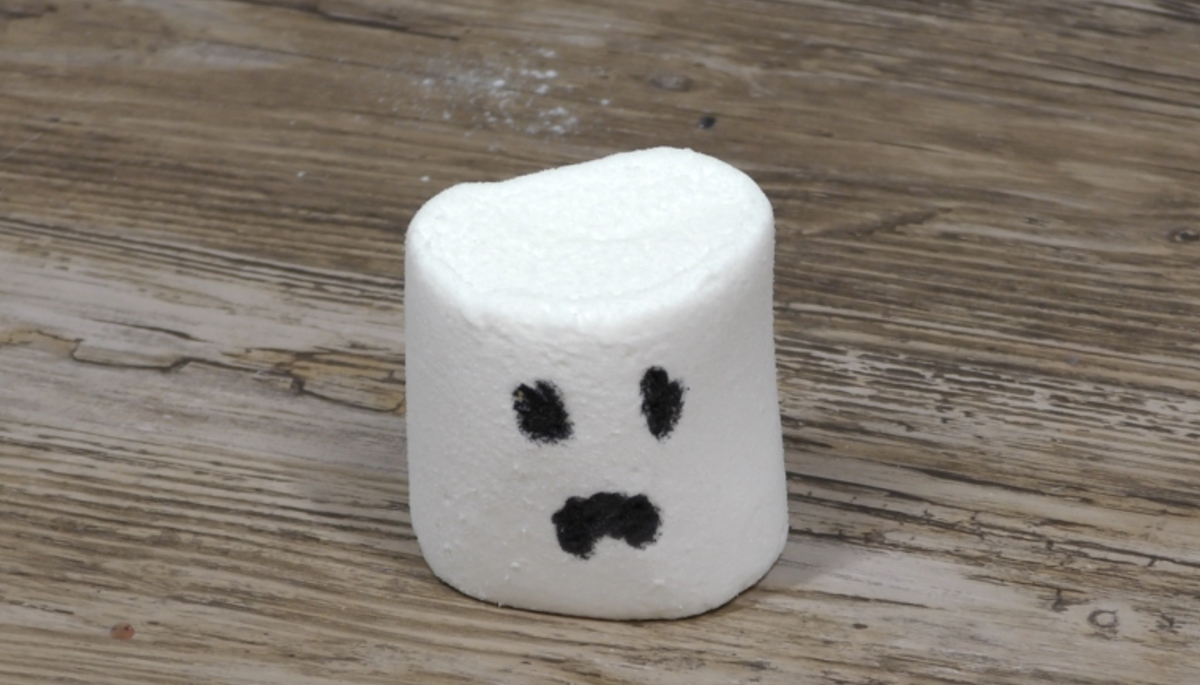
I couldn't do the next experiment that involves marshmallows. So instead I put my new ghost face drawing skills to use and just drew a face on a marshmallow.
The instructions state that I need a plastic bottle, I assumed this was the one included in the kit so I didn't source one, but when I came to start the experiment, the instructions read: "place about three to four marshmallows in a plastic, microwave-safe bottle."
Since an asterisk next to the item in the requirements list references the footnote, "not included in kit," I know this isn't the supplied plastic bottle and have no idea what a microwave-safe plastic bottle is.
Reading the rest of the instructions, it said to put the bottle of marshmallows in the microwave and watch what happens. Although I can't try it, luckily the instructions tell us what happens, "your marshmallow ghosts will grow rapidly and explode out of the bottle."
This doesn't sound like a good idea. I don't want sticky molten marshmallow erupting over the inside of my microwave. The pamphlet goes on to explain the reason why this reaction occurs...
Why do marshmallows expand?
A marshmallow will expand when heated because they are made of foamed sugar. When the marshmallow is put under heat, the water inside the foam heats up, which causes air to become trapped. The trapped air causes the marshmallow to expand. Once the heat is turned off, the foam will collapse and become gooey.
8. Ghost Balloon
This experiment was by far the best in the whole set and it actually worked. It's just that, as you can see from the photo, even as a success it was massively underwhelming.
Once again the experiment involved me drawing a ghost face on a balloon, then pouring a little bit of "chemical one," which you might remember was bicarbonate soda, into the balloon. Then I needed to pour a quantity of vinegar into the plastic bottle, the one that wasn't suitable for the last experiment.
The final step is to slide the un-inflated balloon onto the neck of the bottle. Once the balloon is securely on the bottle, shake the powder out into the bottle.
A reaction occurs, albeit a small one, that produces carbon dioxide that expanded and partially inflated the balloon.
9. Diving Ghost
You'll notice that there's no photo to represent this experiment. That's because it was a total no go, again due to the lack of provided items.
The "what you need" information in the instructions listed a plastic pipette eye dropper amongst other things. I have one, so I thought I was good to go, but upon reading the instructions I found I had to cut the pipette up and make it unusable.
I was also required to cut up a pair of rubber gloves just to get one of the fingers to use in the experiment. Surely a surgical latex glove is cheap enough to include in the kit. This experiment also requires a hex nut, which I don't have.
Even if I did have the required items, there are no diagrams and it's really unclear what the diving ghost is. I'll include the instructions below in their unedited entirety so you can see if you understand the process...
1. Using your scissors cut the pipette around 1cm below the bulb.
2. Take your hex nut and slide this on to the opening of the bulb where you have just cut.
3. Now to turn your pipette bulb into a ghost.
4. Cut a finger off your rubber glove.
5. Cut off the fingertip end.
6. You will now have a rubber tubing to place over your pipette bulb.
7. Place your bulb into the tube and secure in place with tape. Ensure the fingertip is at the top and the wider end becomes the skirt.
8. You can cut up the skirt to make the skirt look more ghostly.
9. Add a spooky scary face using your marker pen onto the bulb and tape.
10. Your ghost is now ready to dive!
11. Turn your ghost upside down and fill it with water.
12. Turning the correct way round, squeeze out a little water until you see a bubble appear in the top of the bulb.
13. Fill a two litre bottle with water.
14. Making sure you still have your bubble in your ghost, pop the ghost into the bottle with the bulb pointing up.
15. Place the lid back on, squeeze your bottle to make your ghost dive and then let go for the ghost to swim back to the top.
10. Bending Bones
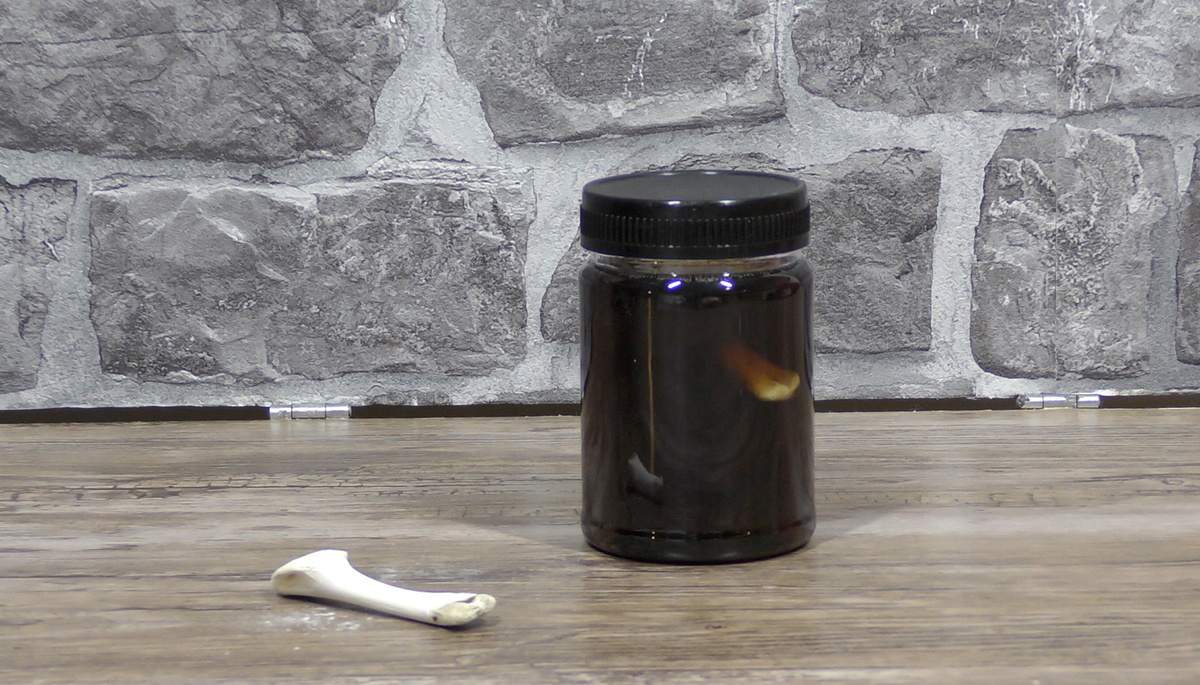
The final experiment is actually a little grim as it involves using real chicken bones, but I had to try it because I had high hopes for this one. Luckily I'm not a vegetarian.
The experiment involves placing one dried chicken bone inside the supplied plastic jar and filling it with vinegar. You also need a second bone as your control bone, which stays out of the vinegar. You then have to leave the experiment for three days.
Then take the chicken bone out of the jar and rinse it off with water. First, try bending the bone you set aside, and then try and bend the bone you had soaking in the jar. You should find that the bone that's been in the jar bends because the acidity of the vinegar removes the calcium from the bone, which in turn makes the bone soft and bendy.
...but you won't be surprised to hear, the bone wasn't bendy. It felt a little softer on the outside that the dry bone, but it didn't bend at all.
Conclusion
This kit is really poor. I know it's aimed at kids, but I thought it would be fun to try. It really wasn't. At my age I'm quite used to disappointment, but a child who is given this set would be massively disappointed.
First of all they'd find that when they open the box there is only one experiment you can carry out without buying additional items, two if you've got some sticky tape at home. Although the kit itself only cost £8, the additional items needed cost almost double that again.
Secondly there's no way a child wouldn't feel disappointed by the incredibly underwhelming experiments and their reactions.
Of the eight experiments I tried, only two worked. I was able to move the static electricity ghost, but it didn't work very well. The ghost balloon did inflate a bit, but was massively underwhelming.
The other experiments either just didn't work at all, or the instructions were unclear like in experiment two when the quantity of water required to make glowing ectoplasm isn't specified. Plus there were the two experiments where getting the required items was just too difficult.
The "science bits" were also very poorly written, taking away any educational value. The kit is said to be for ages 8+, but talk of electrons and protons in relation to static electricity seems a little advanced for that age range. Plus the description is wrong. The instruction state that electrons and protons are atoms. This is clearly incorrect as they are in fact sub-atomic, the particles that make up an atom.
Elsewhere in the instructions a line reads, "the air that is released from the balloon creates enough movement of the hex nut to cause this reaction." What they are trying to say here is unclear, no air escapes from a tied balloon and it's not air moving the hex nut inside the balloon, it's you spinning the balloon that is moving it.
I don't just think this product is poor. It's shameful and verging on a scam. To make matters worse, the few items you do get with it are all plastic, most of which are single use. How this product ever went into production is more of a mystery that any ghost story.
Related Content


Daily Horoscopes
Leo

You have sudden flashes of intuition and insight right now that can serve you well if you pay attention to them. You may have strange dreams or visions that come suddenly and leave just as quickly, so carry a notepad.... Read More


You May Also Like


